13 Jan Breaking In An Inzer Advance Designs SDP
By: Team PRS
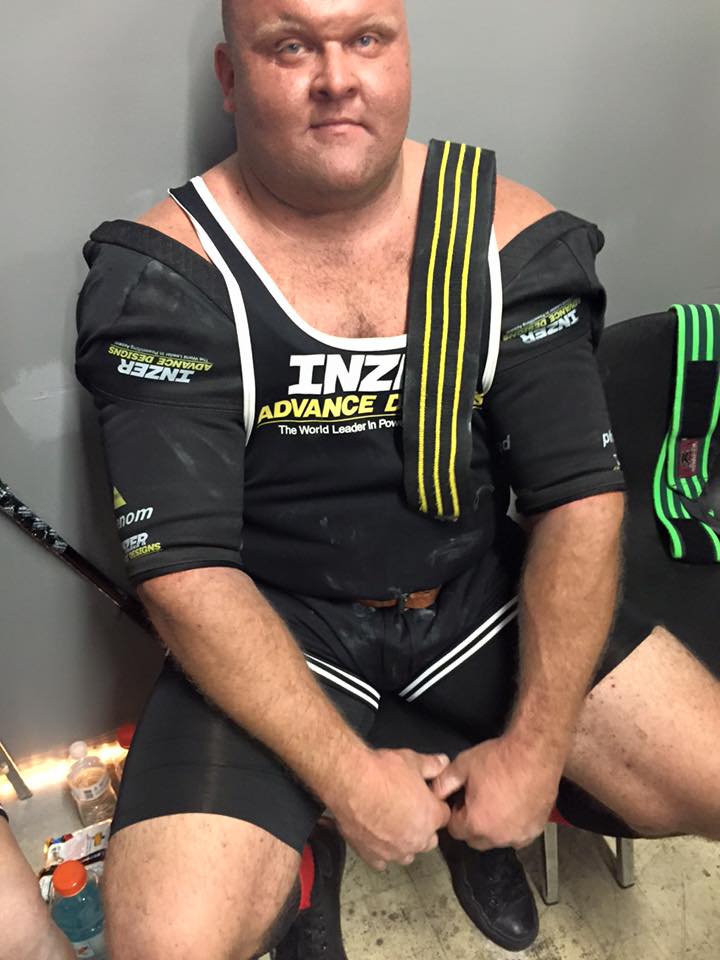
One of the most overlooked and misunderstood things that we see in equipped powerlifting today is the break-in process of the best bench shirt on the market – the shirt that has helped produce the most world record benches of any other shirt available – the Inzer SDP.
Keep in mind that this shirt is NOT new. It’s been around for over 10 years and has been consistent in one thing: big benches.
Over the years between Zane, Brian, Beth, Chad, and Byrd, it is reasonable to say that all shirts have been covered in this process with many, many different brands of gear tested. You could also say we know a little bit about bench shirts and how to approach the best one on the market.
THIS SHIRT IS DIFFERENT
People need to realize that because this is shirt is entirely different than any other shirt available, it needs to be broken in as such. With the shirt being constructed of a very stretchy material, many people were hurried to touch weights and unfortunately, would do one of two things: 1) wear the shirt out by stretching it too quickly or 2) cause fiber-tearing in the material. This didn’t seem to be a problem for Ryan and Gene as they were approaching 1000-pound benches; the secret was in the way they broke it in.
NONE OF THIS IS NEW AND GIVE CREDIT WHERE IT’S DUE
With tips from Gene, Ryan, Jimmie Pacifico, AJ Roberts in addition to the many discussions that Carroll has had with the manufacturer over the years, we have been given a great wealth of knowledge on how to go about doing so in the most efficient way possible. Huge thanks to these guys for their advice and experience over the years.
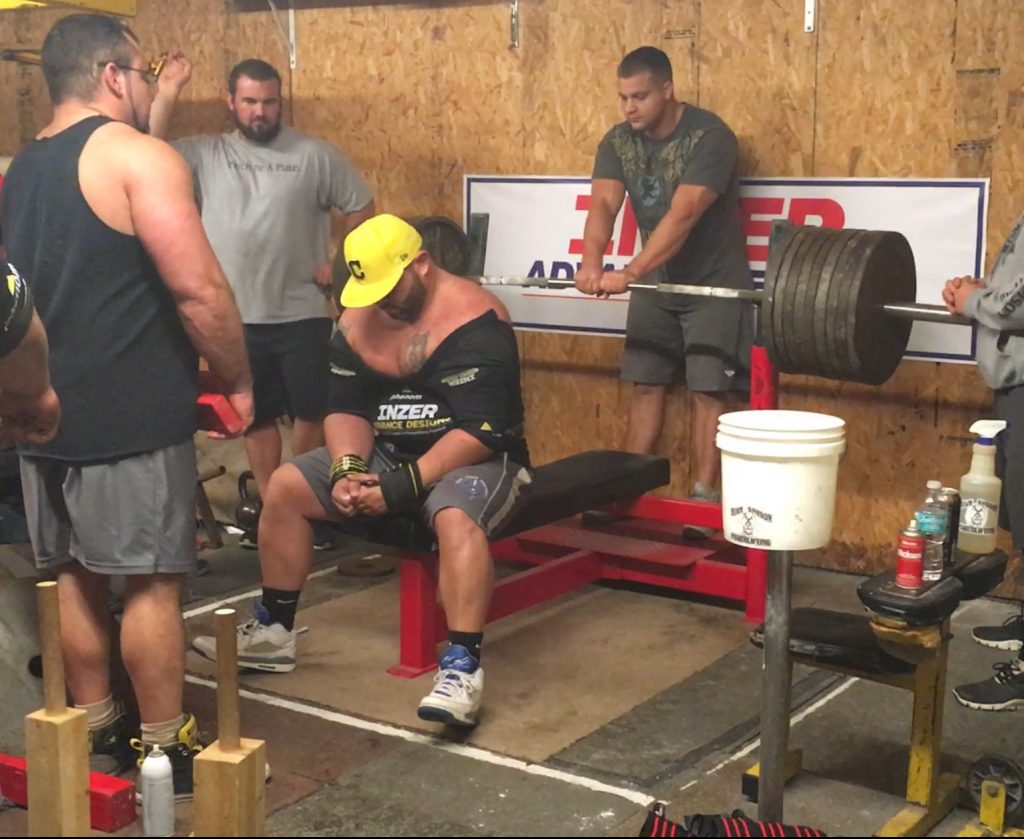
Last May, Brian returned to his first equipment sponsor, Inzer Advance Designs. Shortly after, the whole team became on board. As a result, we all got back into Inzer gear and knew exactly how to approach this great shirt properly. Since then, every single one of us has benched in a SDP successfully in a meet and the shirt has lasted a long time for us. The key was the patience, plan, and fit.
HOW TO START
The first thing that you need to know is that the process needs to happen slowly and the high board work is imperative. With that said, the shirt needs to be on the smaller side when starting out. We personally also like to wet the shirt down and feel that the shirt stretches better this way. No, we don’t have any research to back this, but it’s something that we like to do and it works for us. Initially, the shirt should only allow a close grip on the bar and should start this way to ensure a good fit. As a rule of thumb, if the shirt “fits” right away – or even in your first training session – it’s going to be too big in the very near future.
NOTE: Many SDP users have had success using smaller lifters to start the break-in process for them so that it’s not so difficult and painful. Yes, it can be a pain in the ass – literally. To us, this is a huge benefit and expedites the process quite a bit. For example: if you’re a 220 lifter, consider having a female under 150 start with some very light and easy sets. After a few high board sets, have someone two weight classes below you start working with the high boards. This may save you from starting off with an 18” grip for 3-5 sets, which – as we all know – is not fun.
DON’T FOLLOW THE CROWD
With a lot of bench shirts, you will be told to pile on weight and try to lower it as far as you can. This is the exact opposite of what you want to do in the SDP. With this shirt, you want to give it a chance to mold to your body as well as preserve the integrity of every fiber of its fabric. You want to start with about 15 reps off of three boards or higher – some need to start with four or five. Then you want to work down a board, or even a half board, per week going forward. Again, this is highly dependent on so many personal variables.
A SAMPLE PROCESS (you don’t have to follow this exactly, but in a perfect world, you would try)
Here’s a thorough example of what we’ve found to work the best for the SDP:
- Week 1: 3-4 sets of 3 reps off of 4 or 5 and 3 boards (don’t go any lower than 3). Try to work your hands out further each set. Don’t be alarmed – you will hear some crackling and popping, but nothing too loud.
- Week 2: 3-4 sets of 3 reps off of 3 boards. By now, your hands should be close to your competition grip. Still, some crackling and popping will happen as the chest plate is molding to you and breaking in.
- Week 3: 3 reps off of 3 boards and 2 sets of 2-3 reps off of 2 boards. The shirt should be done crackling and popping at this point (for the most part) and ready to go below a 2 board. You should be able to get your hands out to your competition grip without much assistance by now.
- Week 4: Deload – no shirt work this week. Give your body and your shirt a rest.
- Week 5: 3 reps off of 3 boards, 3 reps off of 2 boards, 2 reps off of 1.5 boards. If all goes well, then you can go to a 1 board for a single.
- Week 6: 3 reps off of 3 boards, 3 reps off of 2 boards, and 1-2 reps off of a 1 board.
At this point, the shirt should be ready to take to a half board or even touch. The key is to get all of the 2, 3, and 4 board work in before moving down to a touch. Then once you know you can touch in the shirt, spend most of your time on 2 boards and higher as to not stretch the shirt out too much and lose that initial pop off of the chest. I also like to go back up and do a few sets off of 3 boards after the low board sets if you feel like you need more shirt work in those break-in weeks. You really can’t get too much in that high range.
For this shirt, having the shoulders pulled up high, but chest plate pulled low is the key. This will make the touching process harder, but will also create more drive or “pop”.
A FEW MORE TIPS
It’s a good idea to have two shirts. You should have one that’s a competition fit that you don’t touch in often and save for meets and another that you can train in that is looser for you to do reps in.
Here’s an idea of what size shirts we wear and our body weights. Keep in mind, however, that leverages will play a huge part in sizing (i.e. big belly/short arms will allow you to wear a smaller shirt)
- Brian Carroll: 58 chest, 56 arms competition fit; 58 training fit – 265 pounds
- Zane Geeting: 62 chest, 58 arms competition fit; same for training fit (Zane has a pec injury that prevents him from being too aggressive with his bench) – 235 pounds
- Chad Walker: 58 competition fit; 60 training fit – 300 pounds
- Jonathan Byrd: 58 competition fit; 60 training fit – 285 pounds
- Beth Thomas: 42 competition fit; 44 training fit – 132 pounds
A QUICK REVIEW AND SOME MORE POINTS
- Once the shirt is broken in, cuffing the bottom of the sleeves or folding them up is a good idea to lock in the arms. This is especially true for females, as the taper around the joint will leave more room around the elbow.
- Crank down your chest plate as the weight gets heavier, but pull your shoulders UP. Experiment with the positioning of the shirt. NOTE: Pull the chest plate down and lock your belt in tight to ensure that the shirt is where you want it and it stays there during set-up.
- Again, do not touch in this shirt until a minimum of three sessions (3-4 is recommended) prior to following the layout above.
- If the shirt “fits” right away, then it will be too big due to the stretchy nature of the fabric. Err on the side of being too small and have a smaller lifter get the break-in process started for you.
- Don’t panic if you can’t get your hands out on the bar the first one or two times in the shirt.
- Make sure to have good spotters handling you as you break in your new shirt.
- If you are 2-3 sessions in and still can’t get your hands out close to your competition grip and/or can’t touch a 2 or 3 board, then you may have a shirt that is too small. With that said, be patient. If you’re close, don’t up and quit.
To INZER GRIPPER this article up, we want to remind you that the optimal time to get into a new bench shirt is not right before your meet. We highly advise that you work out the fit and the break-in process (especially if you’re a newbie) in your offseason and not directly before a contest. This way, you’re not super rushed to get the process accomplished and it’s not such a stress inducer when so many other things should be focused on in this time. Proper planning is key! This shirt is, hands-down, the best on the market and time to adjust, dial in, and break it in is vital. Don’t rush or cheapen the process. It will pay off, but anything good takes some time and effort. Get your SDP HERE
Recently added VIDEO
Brian Carroll
Latest posts by Brian Carroll (see all)
- Brian Carroll Coaches the Birddog - April 24, 2024
- Protected: -Header Image Post Template 2024 - April 18, 2024
- Brian Carroll X Professor Stu McGill full interview 2024 - April 16, 2024


Sorry, the comment form is closed at this time.